All Categories
Featured
Table of Contents
- – Pop Up Camper Roof Repair Rowland Heights, CA
- – OCRV Center
- – Camper Repair Shops Near Me Rowland Heights, CA
- – Camper Repair Shops Near Me Rowland Heights, CA
- – Camper Awning Repair Rowland Heights, CA
- – Camper Awning Repair Rowland Heights, CA
- – Rv Camper Repair Near Me Rowland Heights, CA
- – Rv Camper Repair Rowland Heights, CA
- – Camper Awning Repair Rowland Heights, CA
- – Camper Awning Replacement Rowland Heights, CA
- – Pop Up Camper Roof Replacement Rowland Heigh...
- – OCRV Center
Pop Up Camper Roof Repair Rowland Heights, CA
Our factory trained and licensed service technicians likewise service all major appliances consisting of: Norcord, Dometic, Motor Home Products, Provider, Hydro-Flame, Suv and more. "Bret is one of the most clever and practical Motor home repair work specialists who comes to your place.
All the job was done in my driveway with small costs. He does guarantee job for Jayco RV's, but he does other brands. It was evident that he has actually functioned on motor home's for a long period of time!".
Very dependable and as a female RV proprietor he reveals you just how to do points on your camper, so you can have the knowledge of exactly how points work. I have made use of Open Roadway 2 times up until now. As soon as when I was camping and my camper required solution and they simply involved my home and winterized my motor home.
Camper Repair Shops Near Me Rowland Heights, CA
At McClain's RV Warehouse stores we have recreational vehicle's for sale spanning acres for you to pick from consisting of brand-new and pre-owned traveling trailers available and motorhomes up for sale. At our Warehouse stores, our objective is to serve you and bring you the most effective recreational vehicle's available for sale in Oklahoma and Texas. It is our top priority to help you make a notified decision to leave our whole lot with the most effective motor home for you.
The groups whatsoever of our McClain's RV Warehouse store places are expert, pleasant and their major objective is to make your shopping experience pleasurable. We are just one of the most effective motor home dealers in Texas! We're pleased to claim that we have actually been bringing you a terrific camping experience considering that 1963. And it doesn't stop once you have actually acquired your new RV.
Camper Repair Shops Near Me Rowland Heights, CA
We have areas in Denton, Ft Well Worth, Rockwall, Oklahoma City, Sanger and Kerrville.
Quality, worth, and innovation are the core values that have been a component of the Gulf Stream Coach method of operating since it was founded in Nappanee, Indiana, by Jim Shea and his boys. Today Gulf Stream Coach is the sector's leading family-owned, family-operated recreational vehicle maker, incorporates 22 brands with over 140 various versions all offered you by the most dedicated and skilled group of associates in the industry.
Camper Awning Repair Rowland Heights, CA
Utilizing residential-style studs, spun fiberglass insulation, and light weight aluminum exterior siding for time-honored resilience and economic climate, in lengths from 20 ft. to 41 ft., our Key Line trailers are for dedicated RVers who know what they want and identify top quality. Perfect for first-timers, value-oriented, and casual campers, integrating cost-effective prices with rugged yet light-weight go-anywhere construction.
Campgrounds might consist of a range of facilities, such as bathrooms, potable water, electrical hookups, outing areas, trash bin, tent pads and team sanctuaries. Nonetheless, numerous camping areas do not have all of these amenities and might only have a picnic table and fire ring. See to it to examine the campground's internet site or call the proper field workplace when intending your trip.

These fees help keep the facilities. Selecting a campsite is generally on a very first come first offer basis. Charge websites differ in rate.
Pay camp fee within half an hour of inhabiting a website. A camping area is leased just once it has actually been paid in full with the pay-stub appropriately completed and shown on site and the site is inhabited by campers. Do not leave personal effects neglected for more than 72 hours (or as specified at each website).
Camper Awning Repair Rowland Heights, CA
Not all level areas are websites. When possible, please use existing sites to avoid producing new disturbances. To further protect your public lands, campers must not take care of any kind of refuse, hazardous products, sewer, or in any type of manner contaminate the surrounding area.
nuCamp has actually been manufacturing teardrop trailers and tiny campers because 2004, which puts us ahead of the tiny living fad. Now is the excellent time to upgrade from outdoor tents camping. Our little trailers, small campers, and pick-up vehicle campers are developed to go off the grid, enabling you to discover off the beaten course and take the road much less taken a trip.
Inspired by European influences, our campers include a contemporary look that will certainly capture everybody's eye. These little, compact campers allow you bring the comforts of home when driving without endangering on high quality. nuCamp's creator, Joe Mullet, has actually passionately grown a society of real look after both our staff member and the campers we craft for our valued consumers.
Our devoted employee take fantastic pride in promoting integrity and pressing the limits of imaginative layout. Every one of our campers is meticulously handcrafted at our state-of-the-art manufacturing center in Sugarcreek, Ohio. Quality and client fulfillment are not just priorities, they are the significance of our job. Our steady goal is to create extraordinary RVs for our extraordinary consumers.
Rv Camper Repair Near Me Rowland Heights, CA
Directly over to our page to take a look at an in-depth summary of several of our leading RVs! With our high-volume purchasing power we are able to deliver you the most affordable nationwide rates on all our inventory. Meyer's recreational vehicle is the largest family owned and operated dealer in the Northeast with over 180 years of consolidated experience.
If you have any kind of concerns or want more info, you can today for all the information!.
Rv Camper Repair Rowland Heights, CA
Provides even more versatility with access to a smaller sized, second car for discovering and extra home. Gives the ideal rent-and-go choice and enables simplicity when it involves establishing camp, simply move the motor home right into park.
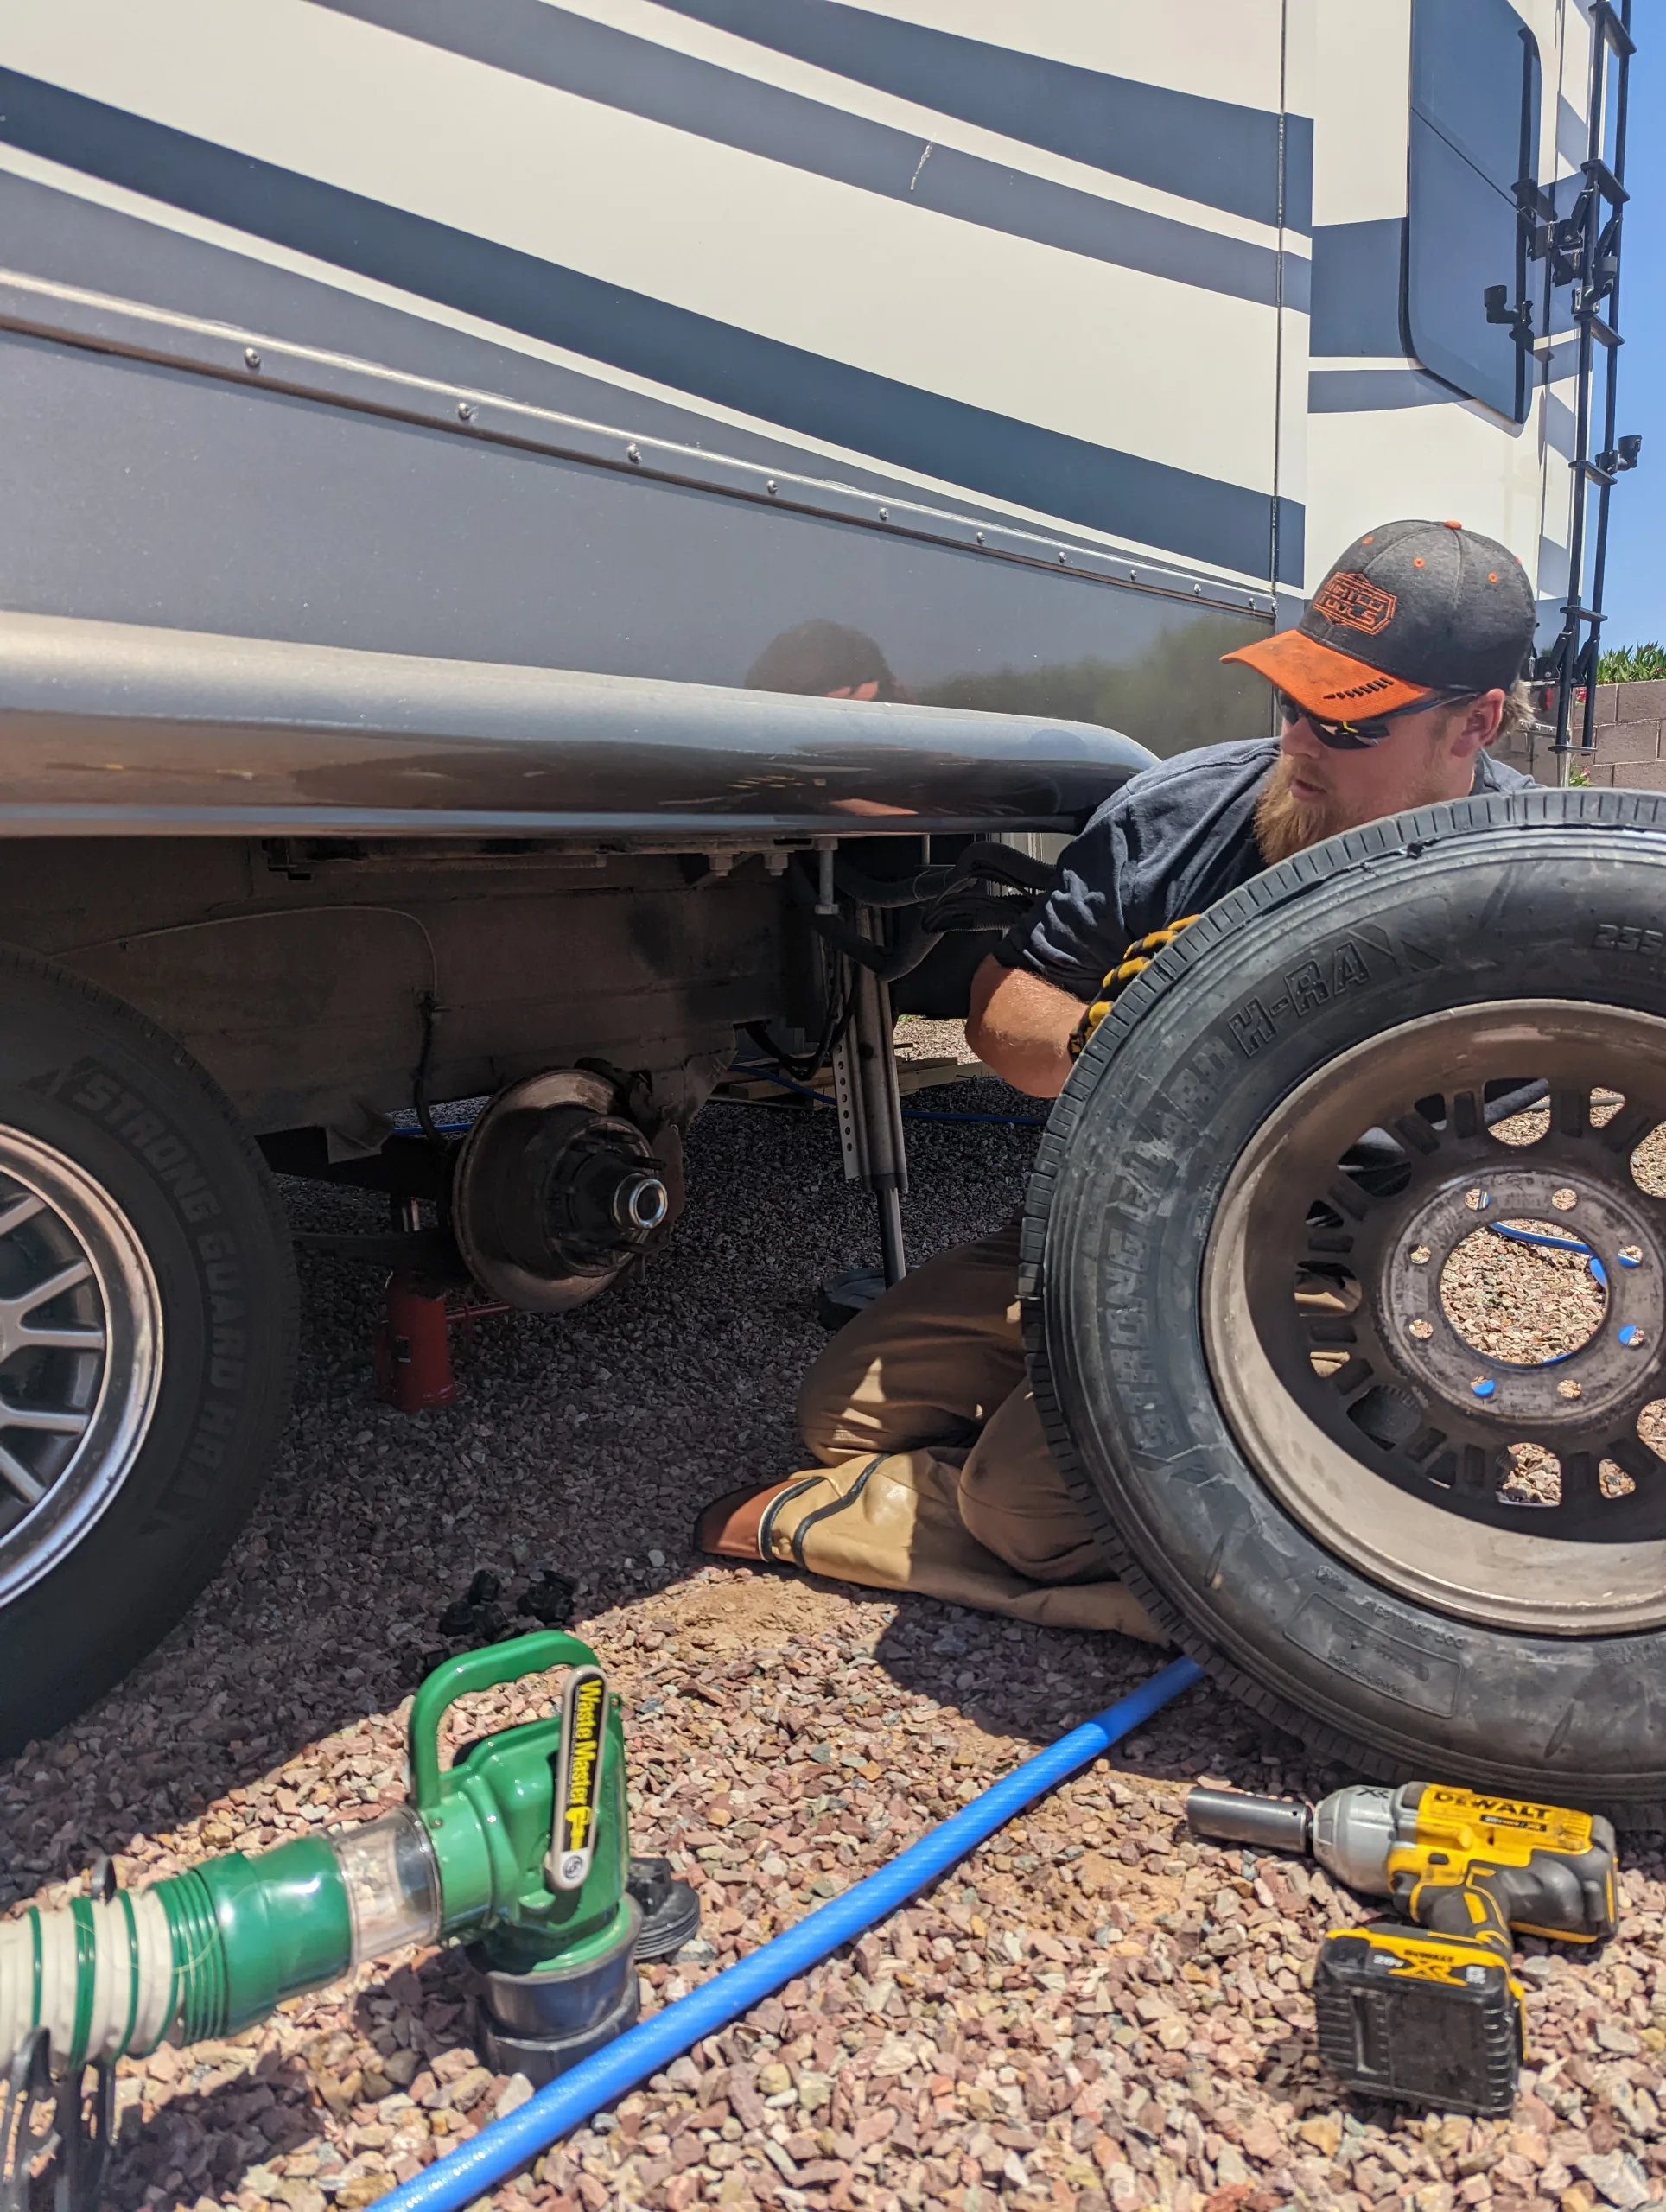
Check RV furnace tidy heating system blower, burning chamber and control area, getting rid of any kind of dust. Check Recreational vehicle hot water heater flush holding tank, by hand run stress temperature level relief valve and tidy heater tube (as described by the supplier) as needed.
Maintaining your roof air conditioning unit tidy and blockage cost-free will certainly improve the efficiency of the device(s). Evaluate the total condition of your AC device(s). Remove all things and particles from air conditioner device(s) and drain openings. Clean and straighten out the recreational vehicle air conditioning evaporator and condenser coils. Evaluate the a/c System(s) for 20 minutes to document temperature level and amperage as identified by supplier specifications.
We have the equipment and experience to obtain your recreational vehicle in prime form, which indicates even more road time for you (Camper Repair Rowland Heights). Give us a call and we'll get you in and out of the store in an efficient and prompt way, so you can return to experiencing the liberty that the motor home lifestyle supplies
Camper Awning Repair Rowland Heights, CA
Pertain to talk to us about exactly how to finest preserve your investment and discover more regarding our available services! Phone call, browse through, or call us today. We're here to aid.
We have years of experience in recreational vehicle repair work, trailer repair work, and fabrication. Additionally, we can meet all your towing needs from fifth wheel drawback installment to base plate and tow bar installment. We have accessibility to a range of components for your entertainment needs. What collections us in addition to a dealer-based repair service facility or other service center is our proficiency in construction.
We ourselves have actually been held captive to withdrawn, non inspired repair facilities. That is why we opened this facility, so we can take treatment of you like we would want to be dealt with ourselves. Dealership Construction and services Welding Apartment tow bundles Roofing Reseal Steel Construction Television Upgrades Satellite Install TowBars fifth Wheel Hitches General Hitches Airbag Installation Running Boards Back Up Cameras Jack Repairs SxS Service SxS custom cages Way too much To Detail Call (714) 550-0222 to find out more.
Our motorhome specialists work in a modern center with OEM scanners and devices used in swift diagnostics. We utilize only the finest quality parts in all our repairs and in several situations can have your lorry roadway deserving the very same day. Open 6 days a week we schedule Saturday consultations.
Camper Awning Replacement Rowland Heights, CA
In the very same place for over 25 years we are a household possessed and operated service dedicated to the greatest standards of quality in all job that we carry out - Camper Repair Rowland Heights. Bring you Mobile home to make use of for the following: A/C Fixes and Solution Brake Repairs and Solution Diagnostics Driveline Repair Electric Repair Works Heavy Services On A Regular Basis Arranged Maintenance Seasonal Upkeep Oil Adjustments Suspension Services Transmission Repair Our facility is protected for overnight job and we can schedule an affordable rental cars and trucks or supply politeness shuttle solution to your office or home call us today at 714-465-5199 for Winnebago repairs
714-465-5199 Pertained To RV Fixing Huntington Beach CA for exceptional upkeep solution and repair work. We are centrally located and give service throughout the Orange Area CA area. Our group of ASE Master Qualified Service technicians offer a complete lorry examination with every service. We evaluate drive your lorry and check liquid degrees consisting of the brake fluids seeing to it that you are secure out on the open road.
With over 30 years experience in the market we are the locations number # 1 selection in motor home service or fixing. We know that seasonal service on your Air conditioner is the best way to make certain it is working at capability before you are trucking via the desert.
Pop Up Camper Roof Replacement Rowland Heights, CA
We've seen and handled just concerning every little thing that you can imagine regarding recreational vehicle's and trailers are worried. Our friendly staff members are extremely trustworthy and enjoy their work and giving aid to those looking for emergency situation aid. I think you can say that they have a Samaritan complex! We aim to offer a level of service to you that is way beyond just giving a fast fix.
You deserve a higher level of solution and respect than those various other repair work services are supplying. We've been in operation in one kind or an additional for over 15 years. During that time we have had the ability to hire a support team that we not just really feel completely comfortable with, yet are likewise regularly astonished by just how extensive their mechanical expertise goes.
OCRV Center
Address: 23281 La Palma Ave Yorba Linda, CA 92887Phone: (714) 909-1444
Email: art@ocrvcenter.com
OCRV Center
"EXO mobile Recreational vehicle solution was the third vehicle/ Motor home repair business that I had actually dealt with in the previous year, and I'll inform you ... they were the best. Email: pactwacorp@gmail.comOR send us an email utilizing the type belowWe offer quality support, upkeep and fixings for Recreational vehicle proprietors.
Camper Trailer Repair Rowland Heights, CACamper Service Rowland Heights, CA
Camper Awning Repair Rowland Heights, CA
Rv Camper Repair Near Me Rowland Heights, CA
Camper Awning Replacement Rowland Heights, CA
Camper Roof Repair Near Me Rowland Heights, CA
Camper Repair Shop Rowland Heights, CA
Camper Repair Rowland Heights, CA
Pop Up Camper Roof Replacement Rowland Heights, CA
Camper Repair And Service Rowland Heights, CA
Camper Trailer Repair Rowland Heights, CA
Camper Trailer Repair Rowland Heights, CA
Pop Up Camper Repair Near Me Rowland Heights, CA
Camper Repair Places Near Me Rowland Heights, CA
Camper Roof Repair Near Me Rowland Heights, CA
Rv Camper Ac Repair Rowland Heights, CA
Camper Repair Near Me Rowland Heights, CA
Camper Service Rowland Heights, CA
Pop Up Camper Roof Replacement Rowland Heights, CA
Camper Service And Repair Rowland Heights, CA
Camper Repair Places Near Me Rowland Heights, CA
Pop Up Camper Repair Near Me Rowland Heights, CA
Camper Awning Repair Rowland Heights, CA
Camper Service Near Me Rowland Heights, CA
Camper Service Rowland Heights, CA
Camper Repair Shop Rowland Heights, CA
Camper Repair Near Me Rowland Heights, CA
Camper Repair Shop Near Me Rowland Heights, CA
Camper Service Near Me Rowland Heights, CA
Camper Trailer Repair Rowland Heights, CA
Camper Trailer Repair Near Me Rowland Heights, CA
Camper Service Rowland Heights, CA
Camper Trailer Repair Near Me Rowland Heights, CA
Pop Up Camper Roof Replacement Rowland Heights, CA
Camper Repair Near Me Rowland Heights, CA
Camper Roof Replacement Rowland Heights, CA
Pop Up Camper Repair Near Me Rowland Heights, CA
Camper Repair Places Near Me Rowland Heights, CA
Rv Camper Ac Repair Rowland Heights, CA
Pop Up Camper Repair Near Me Rowland Heights, CA
Camper Service And Repair Rowland Heights, CA
Camper Service Center Rowland Heights, CA
Camper Trailer Service Near Me Rowland Heights, CA
Camper Trailer Repair Rowland Heights, CA
Camper Trailer Repair Near Me Rowland Heights, CA
Camper Trailer Service Near Me Rowland Heights, CA
Camper Repair Places Near Me Rowland Heights, CA
Pop Up Camper Canvas Repair Rowland Heights, CA
Camper Roof Repair Near Me Rowland Heights, CA
Pop Up Camper Repair Near Me Rowland Heights, CA
Camper Awning Repair Rowland Heights, CA
Rv Camper Repair Near Me Rowland Heights, CA
Camper Service Near Me Rowland Heights, CA
Camper Trailer Repair Rowland Heights, CA
Camping Repair Near Me Rowland Heights, CA
Camper Awning Repair Rowland Heights, CA
Pop Up Camper Canvas Repair Rowland Heights, CA
Pop Up Camper Repair Rowland Heights, CA
Rv Camper Ac Repair Rowland Heights, CA
Camping Repair Near Me Rowland Heights, CA
Pop Up Camper Roof Repair Rowland Heights, CA
Camping Repair Near Me Rowland Heights, CA
Rv Camper Ac Repair Rowland Heights, CA
Camper Trailer Repair Near Me Rowland Heights, CA
Camper Service Near Me Rowland Heights, CA
Rv Camper Repair Rowland Heights, CA
Camper Service Center Rowland Heights, CA
Rv Camper Repair Near Me Rowland Heights, CA
Camper Service Rowland Heights, CA
Pop Up Camper Roof Repair Rowland Heights, CA
Pop Up Camper Roof Replacement Rowland Heights, CA
Camper Air Conditioner Repair Near Me Rowland Heights, CA
Pop Up Camper Roof Repair Rowland Heights, CA
Camper Air Conditioner Repair Near Me Rowland Heights, CA
Camper Service And Repair Rowland Heights, CA
Camper Service Center Rowland Heights, CA
Camper Services Rowland Heights, CA
Camper Air Conditioner Repair Near Me Rowland Heights, CA
In My Area Seo For Small Business Rowland Heights, CA
In Seo Management Rowland Heights, CA
OCRV Center
Table of Contents
- – Pop Up Camper Roof Repair Rowland Heights, CA
- – OCRV Center
- – Camper Repair Shops Near Me Rowland Heights, CA
- – Camper Repair Shops Near Me Rowland Heights, CA
- – Camper Awning Repair Rowland Heights, CA
- – Camper Awning Repair Rowland Heights, CA
- – Rv Camper Repair Near Me Rowland Heights, CA
- – Rv Camper Repair Rowland Heights, CA
- – Camper Awning Repair Rowland Heights, CA
- – Camper Awning Replacement Rowland Heights, CA
- – Pop Up Camper Roof Replacement Rowland Heigh...
- – OCRV Center
Latest Posts
Norcold Rv Refrigerator Repair Chino Hills
Rv Paint Corona
Camper Repair Places Near Me Montclair
More
Latest Posts
Norcold Rv Refrigerator Repair Chino Hills
Rv Paint Corona
Camper Repair Places Near Me Montclair